
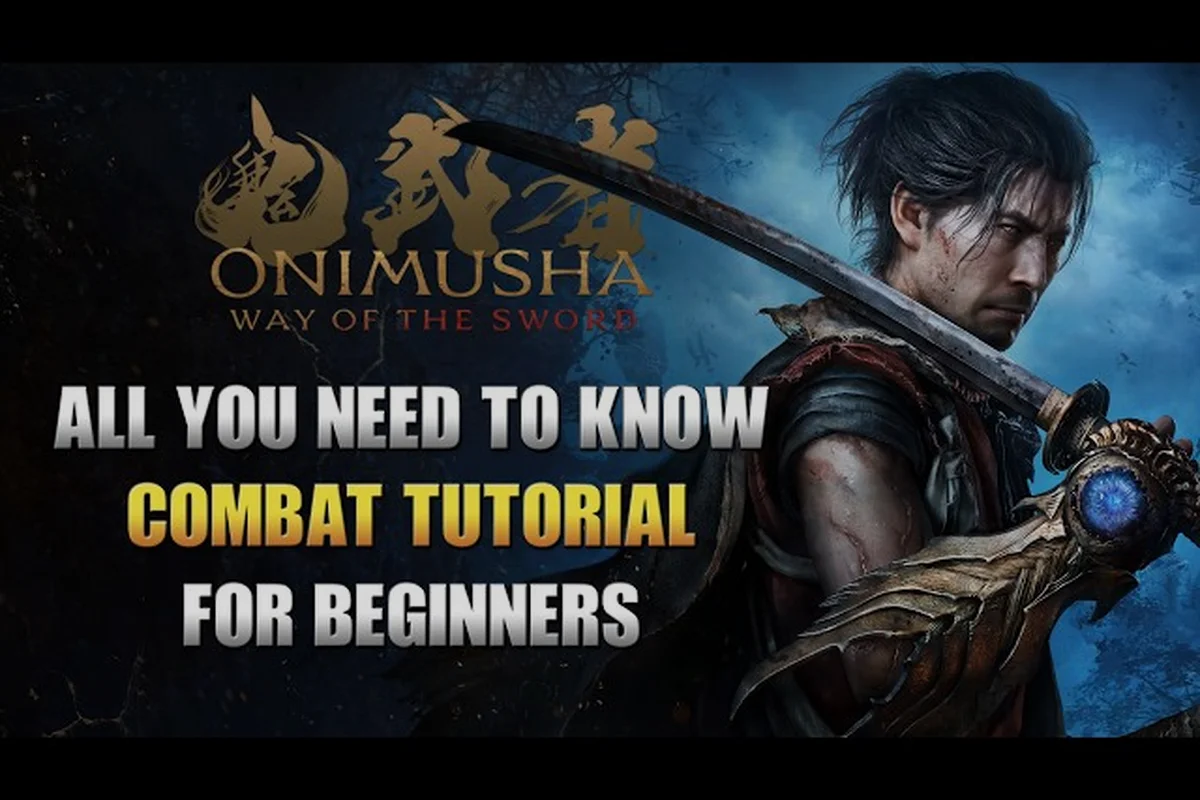
The Onimusha: Way of the Sword combat guide you are about to read breaks down every system that governs swordplay in Capcom's return to the franchise, from the Issen counter to the Ki-en State that rewards aggressive parry chains. Understanding how combat works is the difference between struggling against the first Genma patrol and carving through Edo Kyoto like the legendary swordsman Musashi himself. The combat system rewards patience and timing over button mashing, so mastering the core loop of attack, parry, and counter will carry you through the entire campaign.
This combat system guide draws from the official Capcom site and community testing from the r/Onimusha subreddit, where players have been dissecting the demo footage since the reveal trailer dropped. The game launches in September 2026 on the RE Engine, and the combat mechanics explained here apply across all difficulty settings. Whether you are new to the series or a returning veteran, the fundamentals of stamina management, posture breaking, and soul collection form the backbone of every encounter. Once you understand these universal fundamentals, you can push your execution further by learning the precise timing windows for counters and critical hits in our Onimusha Way Of The Sword Issen Guide, which breaks down the exact frame data needed to turn defense into devastating offense.
Core Combat Loop and the Oni Gauntlet's Role
Soul Color Economy and the Oni Gauntlet's Upgrade Priority
The Oni Gauntlet converts defeated Genma into three distinct soul colors, each feeding a separate progression track. Yellow souls restore Musashi's health, making them the primary sustain tool between shrines. Red souls upgrade the sword and unlock abilities, while blue souls are exclusively consumed to unlock Oni Armaments special weapons—which then generate yellow souls on use. Prioritize red soul investment early to raise base damage, since Break Issen executions against bosses trade massive damage for bonus souls, creating a risk-reward loop where sacrificing an execution window accelerates your upgrade curve.
The combat system revolves around a third-person perspective where Musashi can strike, parry, or deflect projectiles with his blade. According to the official Capcom site, the Oni Gauntlet is a sentient artifact that consumes the souls of defeated enemies, and those souls fuel your progression. Yellow souls restore health, red souls upgrade your sword and abilities, and blue souls unlock Oni Armaments — special weapons that in turn yield yellow souls when used effectively.
Your basic attack strings are simple, but the depth comes from how you chain them with defensive options. A prolonged parry lets you steer an enemy's fall direction, which means you can knock foes into walls, off ledges, or into groups of other enemies for crowd control. The guard stance blocks attacks from all directions, making it your safety net when you misread an enemy's wind-up animation.
Stamina management sits at the heart of the combat loop because every action — attacking, parrying, dodging, and even guarding — drains your stamina bar. When stamina hits zero, Musashi becomes vulnerable to stagger, and enemies can break your guard with a single heavy hit. This creates a risk-reward dynamic where you must decide whether to spend stamina on aggressive pressure or conserve it for defensive reactions.
The Oni Vision ability reveals the location of all demons in an area, which is invaluable for stealth approaches and ambush prevention. Activating it costs a small amount of soul energy, but the tactical awareness it provides often prevents surprise attacks from off-screen enemies. Community reports suggest that Oni Vision also highlights breakable objects and hidden paths, making it a tool for exploration as much as combat.
| Combat Action | Stamina Cost | Primary Use | Risk Level |
|---|---|---|---|
| Light Attack | Low | Chip damage, combo starters | Low |
| Heavy Attack | High | Posture damage, stagger | Medium |
| Parry | Medium | Counter setup, posture break | High |
| Dodge | Low | Positioning, evasion | Low |
| Guard Stance | Drain over time | Blocking all directions | Medium |
Issen Counter and Break Issen Execution
Parry Steering and Wall Knockdown Positioning
A prolonged parry doesn't just stagger an enemy—it lets Musashi steer the direction of the foe's fall, a critical positioning tool that the guard stance alone cannot replicate. By holding the parry and rotating the stick, you can redirect a Genma into a wall, triggering a knockdown state that opens a free Break Issen window. This is especially effective in narrow Edo Kyoto alleyways where wall proximity is guaranteed. Against bosses, the steering window is shorter, so reserve wall knockdowns for standard enemies and use the extra souls from boss Break Issen instead.
The Issen counter is the signature mechanic that defines the Onimusha combat experience, and mastering it is the single most important skill in the game. When an enemy's Rikido — their posture meter — is broken, you can trigger Issen by attacking at the exact moment their guard drops. The timing window is tight, roughly 10 frames on standard enemies, but the reward is an instant execution that eliminates most basic foes in one hit.
Break Issen takes this further by allowing dismemberment on standard enemies, which permanently removes their ability to attack with certain limbs. Against bosses, Break Issen trades between massive damage or bonus souls, giving you a strategic choice in prolonged fights. The official site notes that stamina-depleting parries and strikes enable Break Issen, so you must actively drain both your stamina and the enemy's posture to access this finisher.
The execution window for Issen appears when the enemy's Rikido bar flashes white, and you have roughly one second to land the counter. Missing this window leaves you vulnerable for a full recovery animation, which elite enemies will punish with a guaranteed combo. Practice on the early Genma soldiers in Chapter 1, because their telegraphed attacks provide generous windows to learn the timing without heavy punishment.
Consecutive parries and dodges grant combat buffs that stack up to three tiers, and entering the Ki-en State after a successful parry chain amplifies your damage output significantly. The Ki-en State also changes your attack animations, giving you faster swings and extended reach that can catch enemies attempting to retreat. Community testing suggests the buff lasts roughly eight seconds, so you need to maintain aggression to keep the state active.
| Issen Type | Trigger Condition | Effect on Normal Enemies | Effect on Bosses |
|---|---|---|---|
| Standard Issen | Rikido broken + attack | Instant kill | Heavy damage |
| Break Issen | Stamina-depleting parry | Dismemberment | Massive damage or bonus souls |
| Chain Issen | Multiple parries in sequence | Multi-target execution | Extended Ki-en State |
Parry Mechanics and the Ki-en State
Parrying is the defensive tool that separates skilled players from those who simply block, because a successful parry staggers enemies and can knock them into walls for bonus damage. The parry window is tighter than the guard stance, but the payoff includes posture damage that accelerates your access to Issen executions. You can also deflect projectiles with a well-timed parry, which is essential for dealing with archers and mages that pepper you from range.
The Ki-en State activates after chaining three consecutive parries or dodges without taking a hit, and it transforms your combat effectiveness for a short duration. While active, your attacks deal increased posture damage, your parry window expands slightly, and your stamina regenerates faster. This creates a snowball effect where skilled play leads to more aggressive options, which in turn generates more Ki-en State uptime.
Stamina-depleting parries are the key to unlocking Break Issen, because they require you to commit your own stamina to break through the enemy's guard. When you parry an attack that would have drained significant stamina, the game rewards you with a perfect parry that deals heavy posture damage to the enemy. Perfect parries also restore a small amount of your own stamina, making them sustainable in prolonged exchanges.
The guard stance blocks attacks from all directions, which is crucial when surrounded by multiple enemies. However, holding guard drains stamina over time, and enemies can break your guard with heavy attacks if your stamina is low. The Wikipedia entry on the game notes that a prolonged parry lets you steer an enemy's fall direction, which is a subtle but powerful tool for positioning.
Perfect Parry Timing Windows
The perfect parry window is roughly half the duration of a standard parry window, making it a high-risk, high-reward option. Standard enemies have telegraphed attacks with 20-30 frame wind-ups, and the perfect parry window occupies the final 5-8 frames before impact. Elite enemies and bosses have faster attacks with shorter wind-ups, which is why you need to learn their patterns through repetition.
| Enemy Type | Attack Wind-Up | Parry Window | Perfect Parry Window |
|---|---|---|---|
| Genma Soldier | 25 frames | 12 frames | 6 frames |
| Genma Archer | 30 frames | 14 frames | 7 frames |
| Elite Samurai | 18 frames | 9 frames | 4 frames |
| Boss Attacks | 12-15 frames | 6-8 frames | 3-4 frames |
Awakening System and Combat Progression
The Awakening System provides three distinct upgrade paths — Eye, Arm, and Leg — that unlock new combat abilities and exploration tools. Eye Awakenings enhance your perception, revealing hidden paths and enemy weak points through Oni Vision. Arm Awakenings increase your damage output and unlock new attack strings, while Leg Awakenings improve mobility and add dodge-based combat options.
Each Awakening branch has multiple tiers, and you spend red souls to unlock nodes within each branch. The Arm Awakening path is the most combat-focused, with nodes that increase sword damage, reduce stamina costs, and unlock Oni Armaments special attacks. Leg Awakenings include a dash that can phase through enemy attacks, which is invaluable for positioning against aggressive foes.
The Eye Awakening path includes the ability to see enemy Rikido bars at all times, rather than only when they are near breaking. This quality-of-life upgrade is worth prioritizing early because it lets you plan your Issen executions more effectively. Later Eye nodes reveal enemy weaknesses and resistances, which matters when facing the diverse Genma enemy types.
Your combat progression is tied directly to the souls you collect, so efficient combat that generates more souls accelerates your growth. Red souls are the primary currency for Awakening upgrades, while blue souls unlock Oni Armaments that serve as powerful special weapons. The Oni Gauntlet consumes all souls automatically, so you never need to manually collect them — just stay near defeated enemies.
| Awakening Branch | Primary Focus | Key Unlocks | Recommended Priority |
|---|---|---|---|
| Eye | Perception | Enemy weak points, hidden paths | Second |
| Arm | Offense | Damage nodes, new attacks | First |
| Leg | Mobility | Dash, dodge upgrades | Third |
Advanced Combat Strategies and Boss Encounters
Advanced combat in Onimusha: Way of the Sword revolves around chaining defensive actions into offensive opportunities, and the game's best players treat every encounter as a rhythm puzzle. The Break Issen mechanic against bosses creates a strategic choice: massive damage to end the fight quickly, or bonus souls to fuel your progression. Community reports suggest that the bonus souls option is often the better choice in the early game, because the extra red souls accelerate your Awakening progression significantly.
Boss encounters follow a pattern of learning attack tells, punishing recovery windows, and managing your stamina across multiple phases. Most bosses have three distinct phases, with new attacks added in each phase and faster attack speeds overall. The Daidara boss, for example, has a phase where it summons adds, and you need to balance clearing the adds with maintaining pressure on the boss itself.
The Ki-en State becomes essential in boss fights because the damage buff and expanded parry window give you more room for error. Maintaining the state requires constant aggression, which conflicts with the defensive approach most players adopt against bosses. The solution is to learn which boss attacks are safe to parry, then use those parries to build Ki-en State before unleashing your own offensive.
Stamina management in boss fights requires a different approach than standard encounters, because bosses have longer combos that force extended defensive periods. You should reserve at least 30% of your stamina for emergency dodges, because a single mistimed parry against a boss can lead to a full combo that drains your health bar. The reveal trailer on YouTube showcases the intensity of these encounters, and the real swordplay choreography hints at the timing precision required.
Boss Parry Windows and Punish Opportunities
Each boss has specific attacks that are safe to parry, and identifying these windows is the key to consistent victories. The first boss, a Genma general, has a three-hit combo where the final hit has a generous parry window. Parrying that final hit staggers the boss for a full two seconds, giving you ample time to land a heavy attack or build Ki-en State.
| Boss Attack | Parry Safe? | Punish Window | Recommended Response |
|---|---|---|---|
| Three-Hit Combo Finale | Yes | 2 seconds | Heavy attack + Issen setup |
| Unblockable Charge | No | 1 second after dodge | Dodge + light attack |
| Projectile Volley | Yes | 1.5 seconds | Parry all + counter |
| Ground Slam AoE | No | 2.5 seconds | Jump + aerial attack |
Frequently Asked Questions
What is the Issen counter and how do I trigger it?
The Issen counter is an instant-execution mechanic that triggers when an enemy's Rikido posture bar is broken. Attack at the exact moment their guard drops, and Musashi performs a cinematic finishing move. Standard enemies die instantly, while bosses take massive damage. Practice on early Genma soldiers to learn the timing window.
How does the Ki-en State improve my combat effectiveness?
The Ki-en State activates after chaining three consecutive parries or dodges without taking damage. While active, your attacks deal increased posture damage, your parry window expands, and stamina regenerates faster. The buff lasts roughly eight seconds, so maintain aggression to keep it active. This state is essential for high-difficulty boss fights.
What is the difference between standard Issen and Break Issen?
Standard Issen triggers when an enemy's Rikido is broken and instantly kills normal enemies. Break Issen requires stamina-depleting parries and strikes, and it dismembers standard enemies or trades between massive damage and bonus souls against bosses. The bonus souls option accelerates your Awakening progression, making it valuable in the early game.
How should I allocate red souls across the Awakening branches?
Prioritize the Arm Awakening branch first because damage nodes directly improve your combat effectiveness. Eye Awakenings are second, with the ability to see enemy Rikido bars at all times being a key quality-of-life upgrade. Leg Awakenings are last, though the dash ability becomes more valuable in late-game boss fights.
What are the best combat tips for new players?
Focus on parrying early—each successful parry staggers enemies and builds toward the Ki-en State, which fuels your Break Issen windows. Keep 30% stamina in reserve for dodges, and use Oni Vision to scout Genma before engaging. Practice on early soldiers until Rikido breaks feel instinctive before tackling bosses.